Mastering Website Screenshots with Appium: A Developer's Guide (With Extra Coffee)
1/30/2025
Hey There, Screenshot Adventurers! 🚀
Laura and Heidi here! After spending way too much time taking screenshots of everything that renders in a browser (seriously, check out SCRNIFY if you want to see where that led), we're back with another deep dive. Today's topic? Using Appium for website screenshots - and yes, we know what you're thinking: "Isn't Appium for mobile testing?" Well, grab your coffee, because we're about to show you some tricks! ☕
Why Appium for Screenshots? (And Why Not)
Let's start with the elephant in the room: Appium isn't the first tool people think of for website screenshots. But sometimes you need that Swiss Army knife approach, especially when you're:
- Already using Appium for other testing
- Need cross-platform consistency
- Want to integrate with existing mobile testing workflows
Setting Up Your Screenshot Arsenal 🛠️
First things first - let's get our tools ready. You'll need:
npm init -y
npm install webdriverio appium chromedriver
Here's our basic setup file that'll get us rolling:
// setup.js
const { remote } = require('webdriverio');

const capabilities = {
    platformName: 'Chrome',
    browserName: 'chrome',
    'appium:automationName': 'ChromeDriver',
    'goog:chromeOptions': {
        args: [
            '--headless',
            '--disable-gpu',
            '--no-sandbox',
            '--window-size=1920,1080'
        ]
    }
};

const wdOpts = {
    hostname: 'localhost',
    port: 4723,
    path: '/wd/hub',
    capabilities: capabilities,
    logLevel: 'error'
};

async function setupDriver() {
    return await remote(wdOpts);
}

module.exports = { setupDriver };
Your First Screenshot (The "Hello World" Moment) 📸
Let's start with something simple:
// basic-screenshot.js
const { setupDriver } = require('./setup');

async function takeBasicScreenshot() {
    const driver = await setupDriver();

    try {
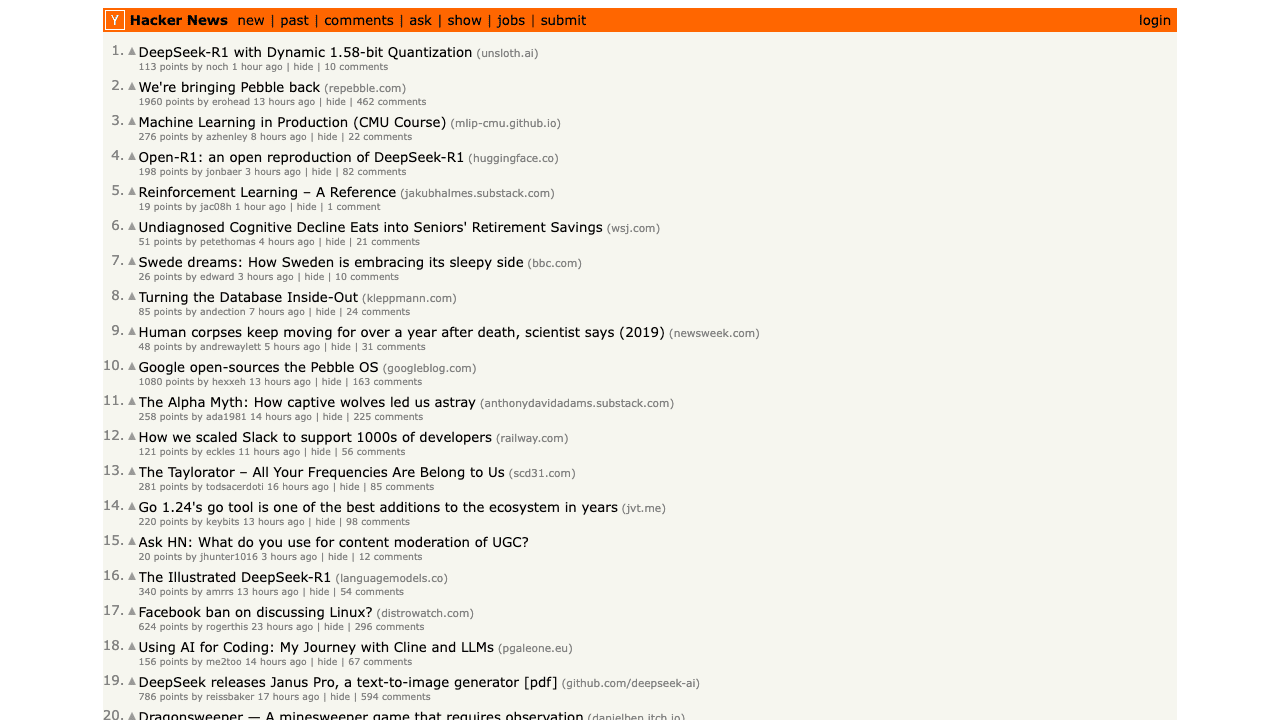
        await driver.url('https://news.ycombinator.com');

        // Take that screenshot!
        const screenshot = await driver.saveScreenshot('./my-first-screenshot.png');
        console.log('Screenshot saved! 🎉');
    } catch (error) {
        console.error('Oops! Something went wrong:', error);
    } finally {
        await driver.deleteSession();
    }
}

takeBasicScreenshot();

Making It Better: Advanced Screenshot Techniques 🚀
Now let's add some fancy stuff - waiting for elements, handling dynamic content, and dealing with different viewport sizes:
// advanced-screenshot.js
const { setupDriver } = require('./setup');

async function takeAdvancedScreenshot(url, options = {}) {
    const driver = await setupDriver();

    try {
        await driver.url(url);

        // Wait for specific element if needed
        if (options.waitForSelector) {
            await driver.$(options.waitForSelector).waitForExist({
                timeout: options.timeout || 5000
            });
        }

        // Handle viewport size
        if (options.viewport) {
            await driver.setWindowSize(
                options.viewport.width,
                options.viewport.height
            );
        }

        // Take screenshot with custom filename
        const filename = options.filename || `screenshot-${Date.now()}.png`;
        await driver.saveScreenshot(filename);

        return filename;
    } catch (error) {
        console.error('Screenshot failed:', error);
        throw error;
    } finally {
        await driver.deleteSession();
    }
}

// Example usage
takeAdvancedScreenshot('https://example.com', {
    waitForSelector: '.main-content',
    viewport: { width: 1920, height: 1080 },
    filename: 'my-awesome-screenshot.png'
});
Handling Authentication (Because Real Websites Need Logins)
Here's how to handle those pesky login requirements:
// auth-screenshot.js
async function screenshotWithAuth(url, credentials) {
    const driver = await setupDriver();

    try {
        // Login first
        await driver.url(credentials.loginUrl);
        await driver.$('input[name="username"]')
            .setValue(credentials.username);
        await driver.$('input[name="password"]')
            .setValue(credentials.password);
        await driver.$('button[type="submit"]').click();

        // Wait for login to complete
        await driver.waitUntil(
            async () => {
                const currentUrl = await driver.getUrl();
                return !currentUrl.includes('login');
            },
            { timeout: 10000 }
        );

        // Now navigate to target URL and screenshot
        await driver.url(url);
        await driver.saveScreenshot('authenticated-page.png');
    } finally {
        await driver.deleteSession();
    }
}
Performance Best Practices 🏃♀️
Here's what we learned the hard way about keeping things speedy:
- Resource Management
// resource-pool.js
const genericPool = require('generic-pool');

const factory = {
    create: async () => await setupDriver(),
    destroy: async (driver) => await driver.deleteSession()
};

const pool = genericPool.createPool(factory, {
    max: 5, // Maximum parallel sessions
    min: 2  // Minimum idle sessions
});
- Smart Waiting
// smart-wait.js
async function waitForReadyState(driver) {
    await driver.executeScript(
        'return document.readyState === "complete"'
    );
}
Common Issues and Solutions 🔧
The "White Screenshot" Problem
// Ensure page is actually loaded
await driver.waitUntil(async () => {
    const state = await driver.executeScript(
        'return document.readyState'
    );
    return state === 'complete';
}, { timeout: 10000 });
Memory Leaks (They're Real!)
// memory-safe.js
const driver = await setupDriver();
try {
    // Your screenshot code here
} finally {
    await driver.deleteSession();
    // Force garbage collection if needed
    if (global.gc) global.gc();
}
Quick Reference 📚
// Common commands
await driver.saveScreenshot('file.png')           // Basic screenshot
await driver.setWindowSize(width, height)         // Set viewport
await driver.$('.selector').waitForExist()        // Wait for element
await driver.executeScript('your script here')    // Run JavaScript
await driver.deleteSession()                      // Clean up
When NOT to Use Appium for Screenshots 🚫
- When you need blazing-fast performance (Puppeteer or Playwright might be better)
- For simple static pages (use simpler tools)
- When you don't need cross-platform capabilities
- If you're not already using Appium for other testing
Infrastructure Costs 💰
Let's talk numbers:
- Base server: 4 CPU cores, 8GB RAM minimum
- Each Chrome instance: ~250MB RAM
- Concurrent sessions: Plan for 2-3x memory overhead
- Monthly costs: ~$50-100 for basic setup
Pro tip: Start small and scale up. You can always add more resources, but explaining why you need a 128GB RAM instance for screenshots might be... interesting. 😅
Tool Comparison: The Screenshot Showdown 🥊
| Tool | Screenshot Speed | Setup Complexity | Memory Usage |
|---|---|---|---|
| Appium | Medium | High | High |
| Puppeteer | Fast | Low | Medium |
| Playwright | Fast | Low | Medium |
| Selenium | Slow | Medium | Medium |
Wrapping Up 🎁
Appium for screenshots isn't always the obvious choice, but when you need that sweet spot of cross-platform compatibility and existing mobile testing integration, it's a solid option. Just remember:
- Start with simple configurations
- Monitor your resource usage
- Keep sessions clean
- Consider caching for frequently accessed pages
And hey, if all this seems like too much work (we get it!), there's always SCRNIFY - because sometimes the best screenshot tool is the one someone else maintains! 😉
Cheers, Laura & Heidi 🇦🇹
P.S. Did this help your screenshot adventures? Let us know! We love hearing about creative uses of testing tools (especially when they're slightly unconventional) 🚀